
How to customize ChatGPT to write in your tone
2 templates and 1 secret.

👋 Hello, welcome back! In our previous newsletters, we've delved into integrating advanced prompts into your design workflow and crafting these prompts using a specific formula. In this newsletter, let’s take a step (or maybe 2 steps) further.
In our last issue, we touched on how ChatGPT's standard responses can sometimes feel too broad and overly promotional. To better align with our specific needs and communication style, we need to customize ChatGPT a bit.
Below, I will show you step-by-step instructions on how to do that.
The logic behind customization
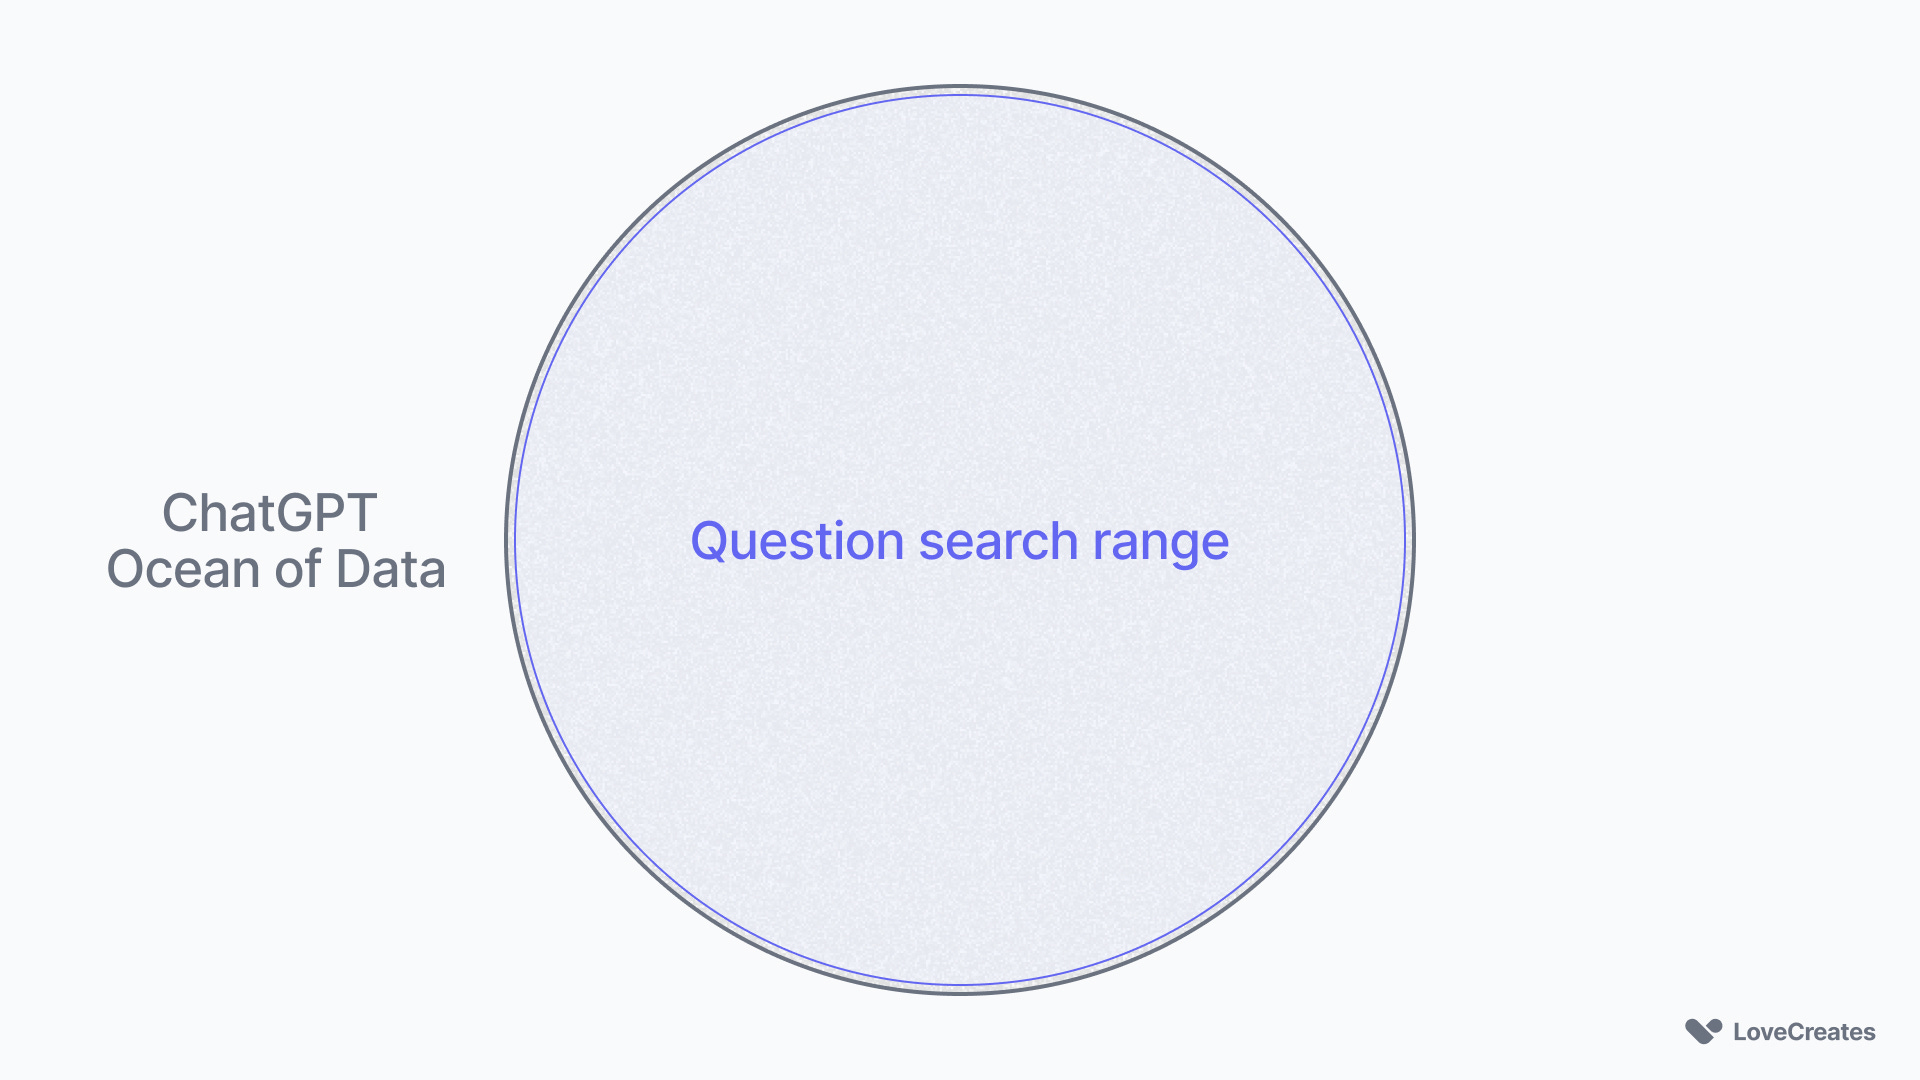
Picture ChatGPT as navigating an immense ocean of data. When you pose a general question, it will dive into this vast expanse, surfacing with an answer drawn from the breadth of its search.
In our last two newsletters, we already learned how to refine ChatGPT's focus. By supplying specific context, defining the task, choosing a format, setting the tone, and identifying the audience, we significantly narrowed its search range. This strategy led to outputs that were not only more relevant but also more precise.
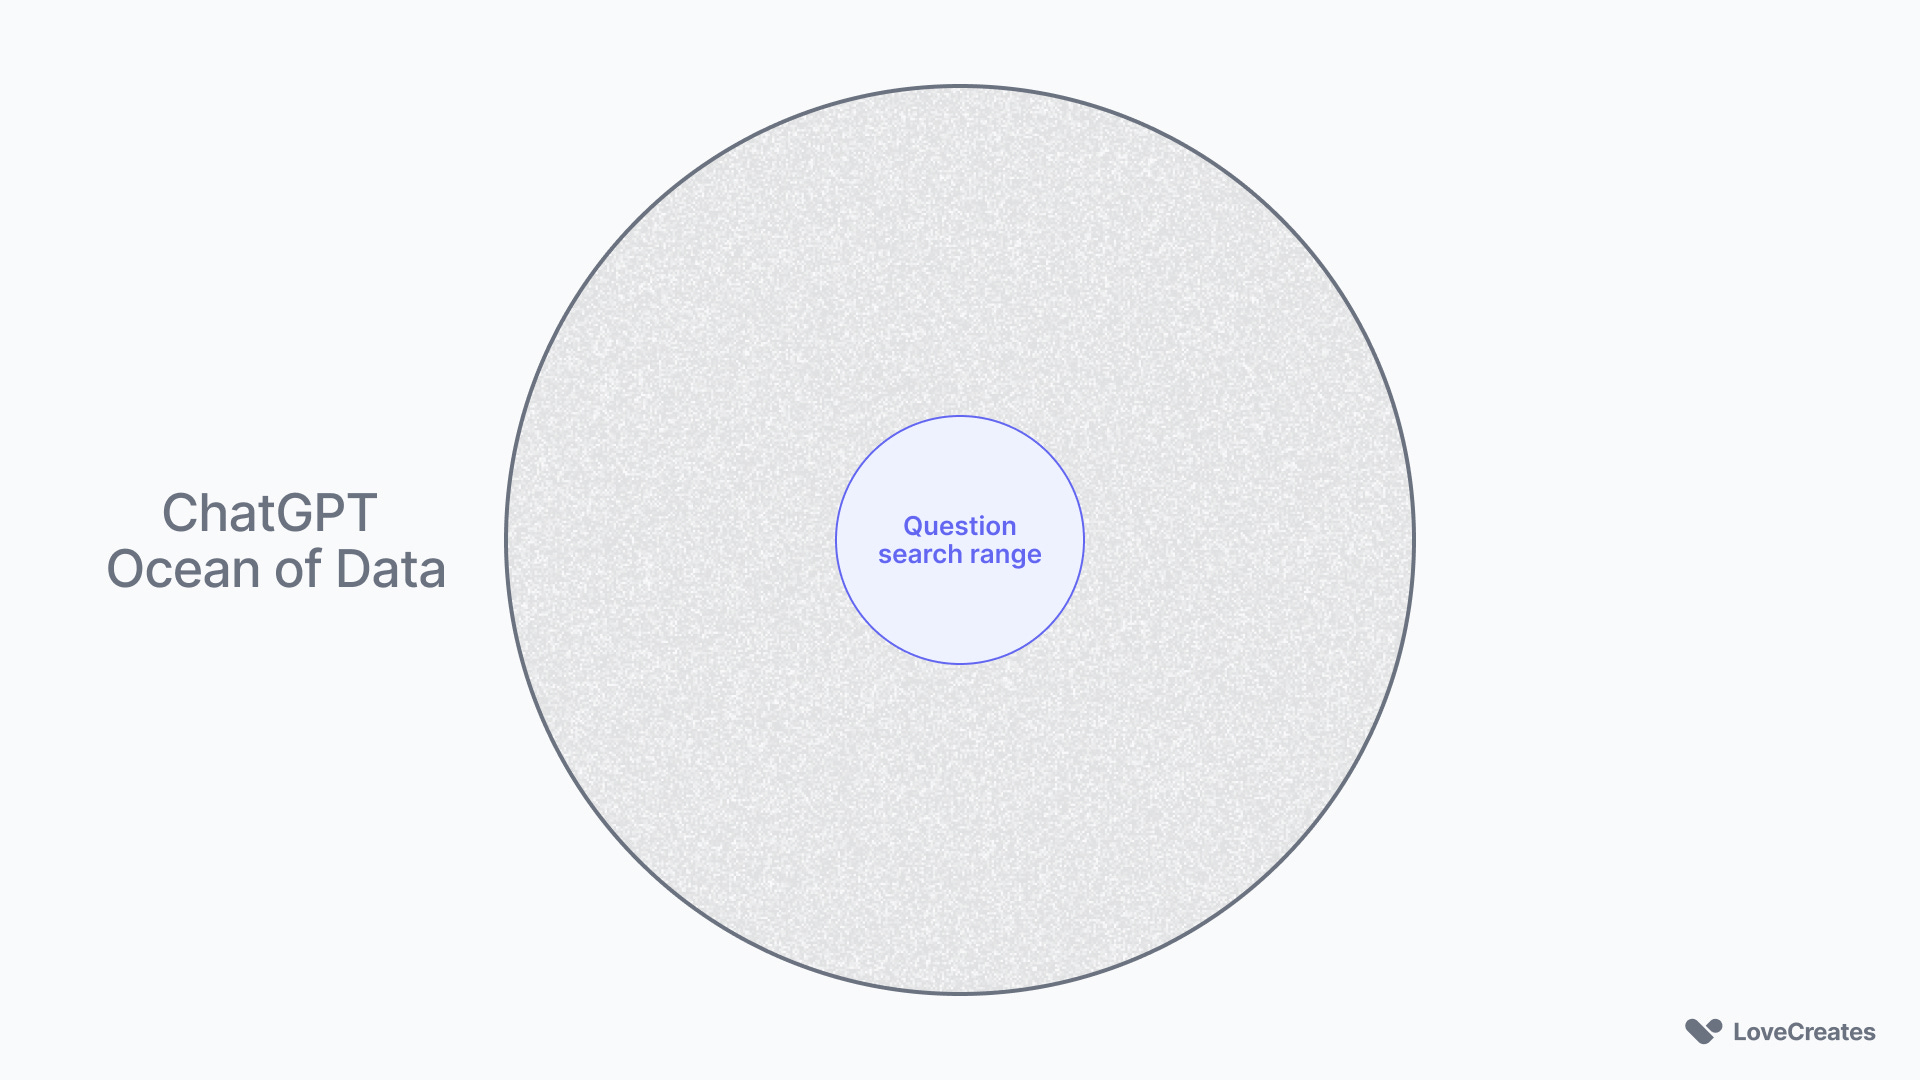
Today, we'll explore how to adjust ChatGPT's default settings to universally narrow its search scope. There are two ways to do this. Based on your specific use cases, you can select the approach that aligns best with your needs.
Universal custom instructions

Within the 'Custom Instructions' section, you'll find two input fields. The first is designed to help ChatGPT better comprehend your role. For professional use, enter information related to your job. (Note: If you're subscribed to the individual plan, do not include private information.)
Here is an example:
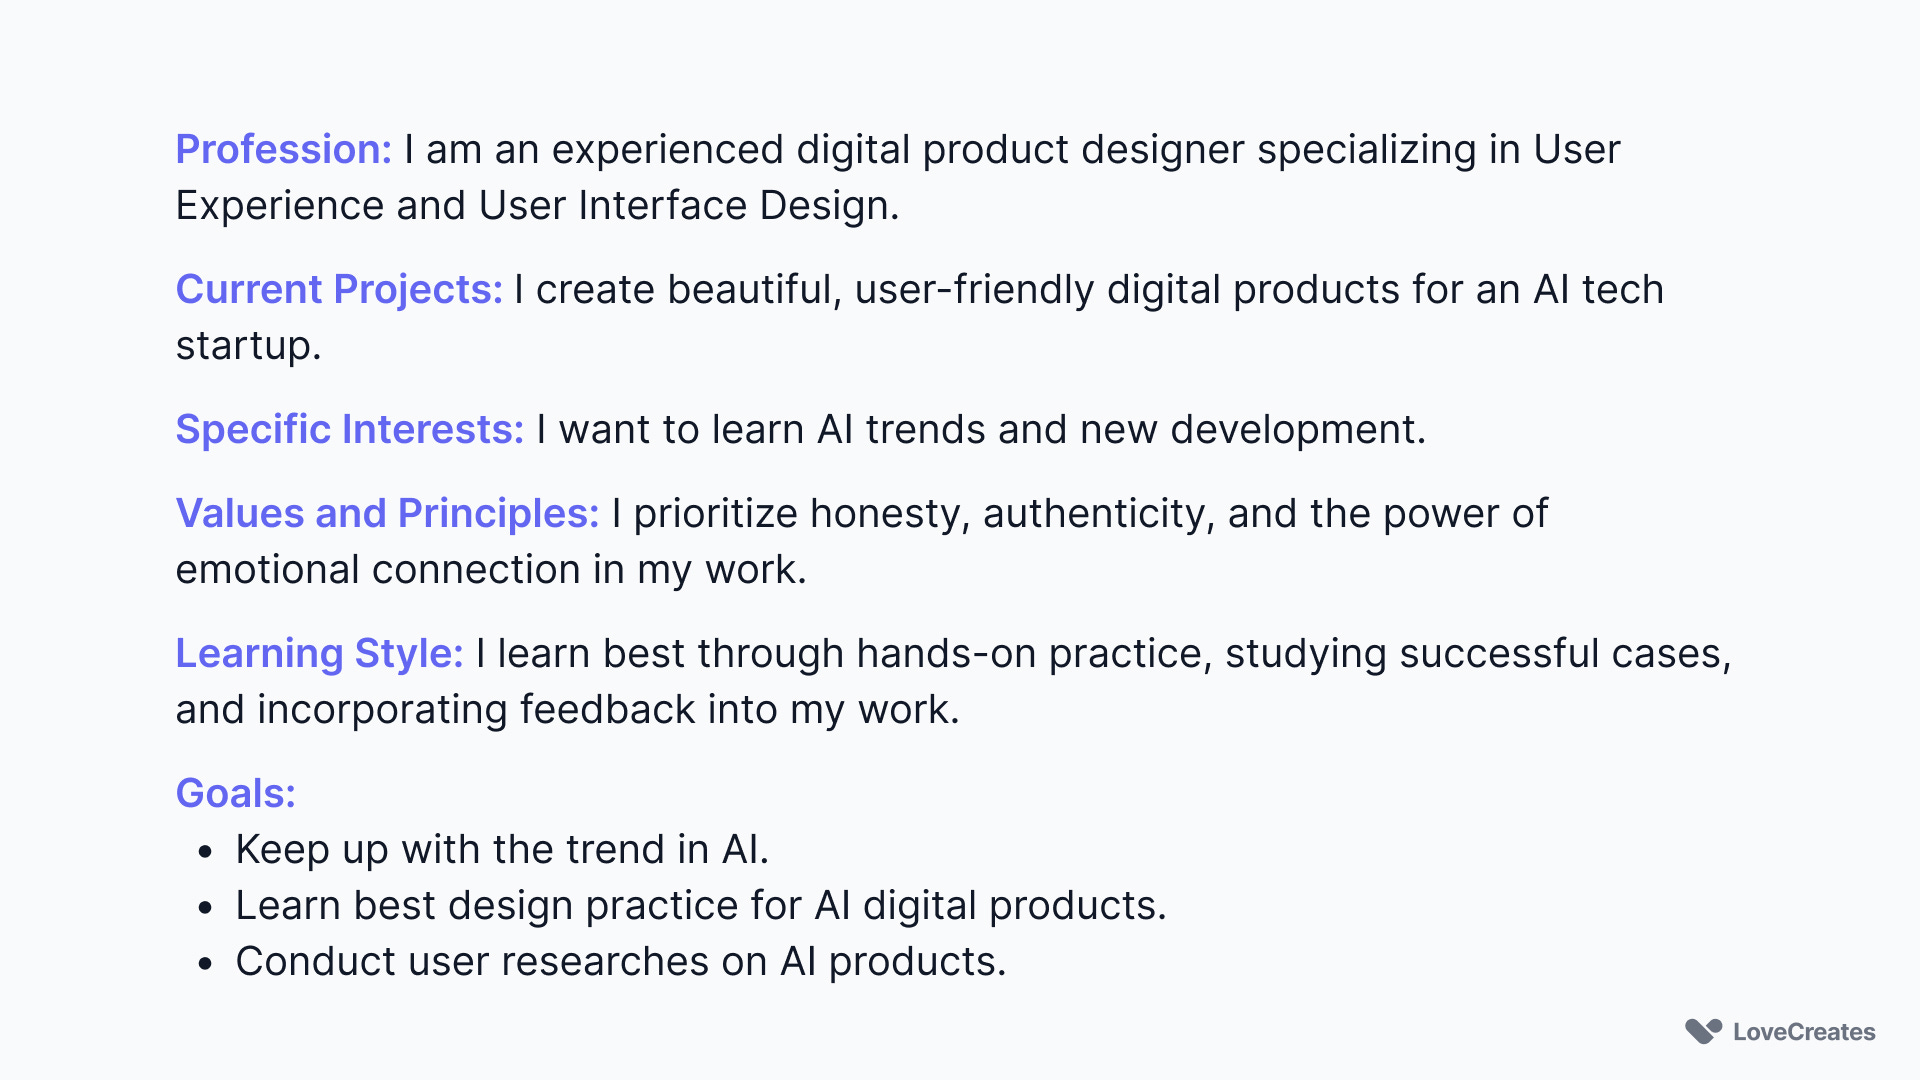
Template:
Profession:
Current Projects:
Specific Interests:
Values and Principles:
Learning Style:
Goals:
💡 Tip: You could modify or include additional information here, but specifying that you are a product designer is crucial.
The second input field echoes what we have covered in the prompt formula. Here, you can define the desired response format, tone, detail level, and more.
Here is an example:
Keep reading with a 7-day free trial
Subscribe to LoveCreates to keep reading this post and get 7 days of free access to the full post archives.